
Infrared Photography
Published by Kathleen Woo,
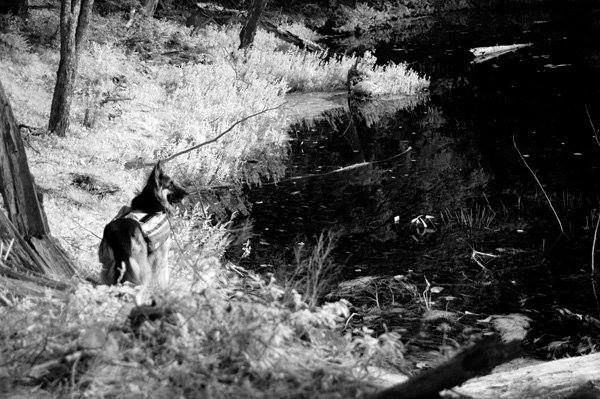
Infrared photography creates an interesting effect where greenery is white, skin is porcelin and eyes are very black. It can be done both digitally and with film, each with their pros and cons.
Infrared on film
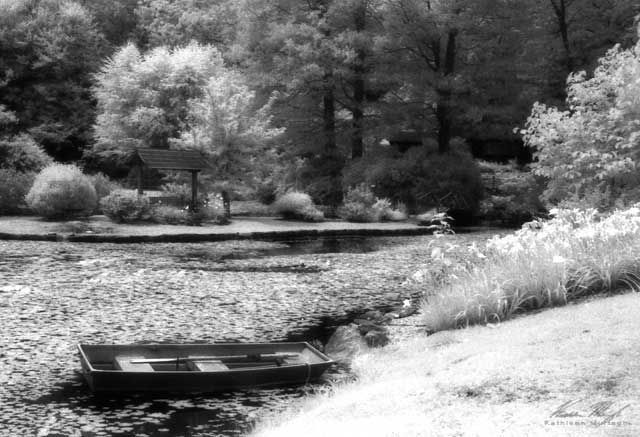
Film is more hazy due to a lack of an anti-halation layer, and grain caused by a higher ASA. This is often times considered a positive because it gives a very heavenly or nostalgia feel to the photograph. An anti-halation layer is present on most film, preventing colors from mixing, but is missing in infrared causing a haziness.
Although infrared film is pricy ($13/roll where I buy them) it allows you to capture faster shots. But, then this becomes quite a bane because additionally, metering for infrared is difficult so you could very well end up with a lot of bad shots.
I have found I can meter through the camera and get good shots. In fact, I got 57 "excellent" shots out of 111 in my last batch. That's pretty good, considering the non-excellents included not only poorly exposed, but poorly composed as well.
You can shoot infrared without a filter, but it's not recomended. Infrared film is still sensitive to visible light, so the "infrared effect" will be dimished without a filter. The first step would be to utilize a Red #25 filter. Although you're placing a filter in front of the lens, it's only blocking visible light - not infrared - so the infrared film will still be exposed by it. If you're metering through your lens, and subsequently through the filter, you'll want to compensate by under exposing to make it as though you're shooting without a filter at all.
Although I haven't tried it yet, my next step will be to take a sheet of Red #87 filter and attach it to the back of my camera so it will be between the shutter and film. Given that the Red #87 filter only lets in infrared, the effect will be enhanced. With it located between the shutter and film, it will elminate the pain of dealing with an opaque lens filter.
Digital infrared
Digital creates very crisp and clear shots. The greatest advantage is being able to see immediately if the shot was exposed correctly. No need to wait days for film development - you'll know right away if your settings are correct for the environment you're shooting. Given how strange infrared is, and how unnatural it's lighting and effects are to us visible-spectrum-seeing-creatures, this is a huge benefit.
With just the investment of a Red #87 filter, one can start taking infrared shots with their digital camera. But not so simply.
The #87 filter is opaque, meaning you have to meter and compose without the filter, and then put the filter on. Plus, the CCD/CMOS is sensitive to infrared, so the manufacturers have put an infrared filter on the sensor, so you have to use long exposures in order to bypass that.
The benefit of this method is that you can take one color shot and one infrared shot and then merge them together to create interesting effects.
In that case, simple cheap digital infrared photography will be limited to long exposure tripod shots. Many people have done this and create great photos, but what if you want something a little quicker?
You can convert a digital camera to shoot infrared. This is sometimes permenant, but always extremely inconvenient to switch so it's advised to have just one old or cheap camera to be a dedicated digital infrared camera. Not everyone has the money or resources to do that, but I've heard of people converting anything from cybershots to Canon 10Ds.
Converting a digital camera to shoot infrared would allow you to take normal speed shots with the infrared effect -- people, pets, anything you can think of. For more information, you can read up on Life Pixel's digital infrared conversion services.