
Guide for Growing an Avocado Tree from Seed
Published by Kathleen Woo,
Growing an avocado seed into a tree is just simply fun. And don't you hate throwing away all your avocado seeds? Well, start collecting them so you can get these avocado seeds to sprout!
Avocado saplings are incredibly hardy when they are still attached to their seeds. The seeds provide the saplings with an abundance of nutrients and spirit for life. They can be a great houseplant for anyone nervous about having a brown thumb.
(Warning: Germinating avocado seeds is known to be addictive. If you take on this endeavor beware that you are at risk of ending up with too many avocado saplings. Be careful!)
Prepare the Avocado Seed for Germination
The avocado seed has a thin layer of skin on it that needs to be removed. Gently cut the skin (or look for where it may have been cut when the seed was cut out of the avocado) and then peel it off the seed. Doing this under running warm water can help. Remove as much of the skin as you can.
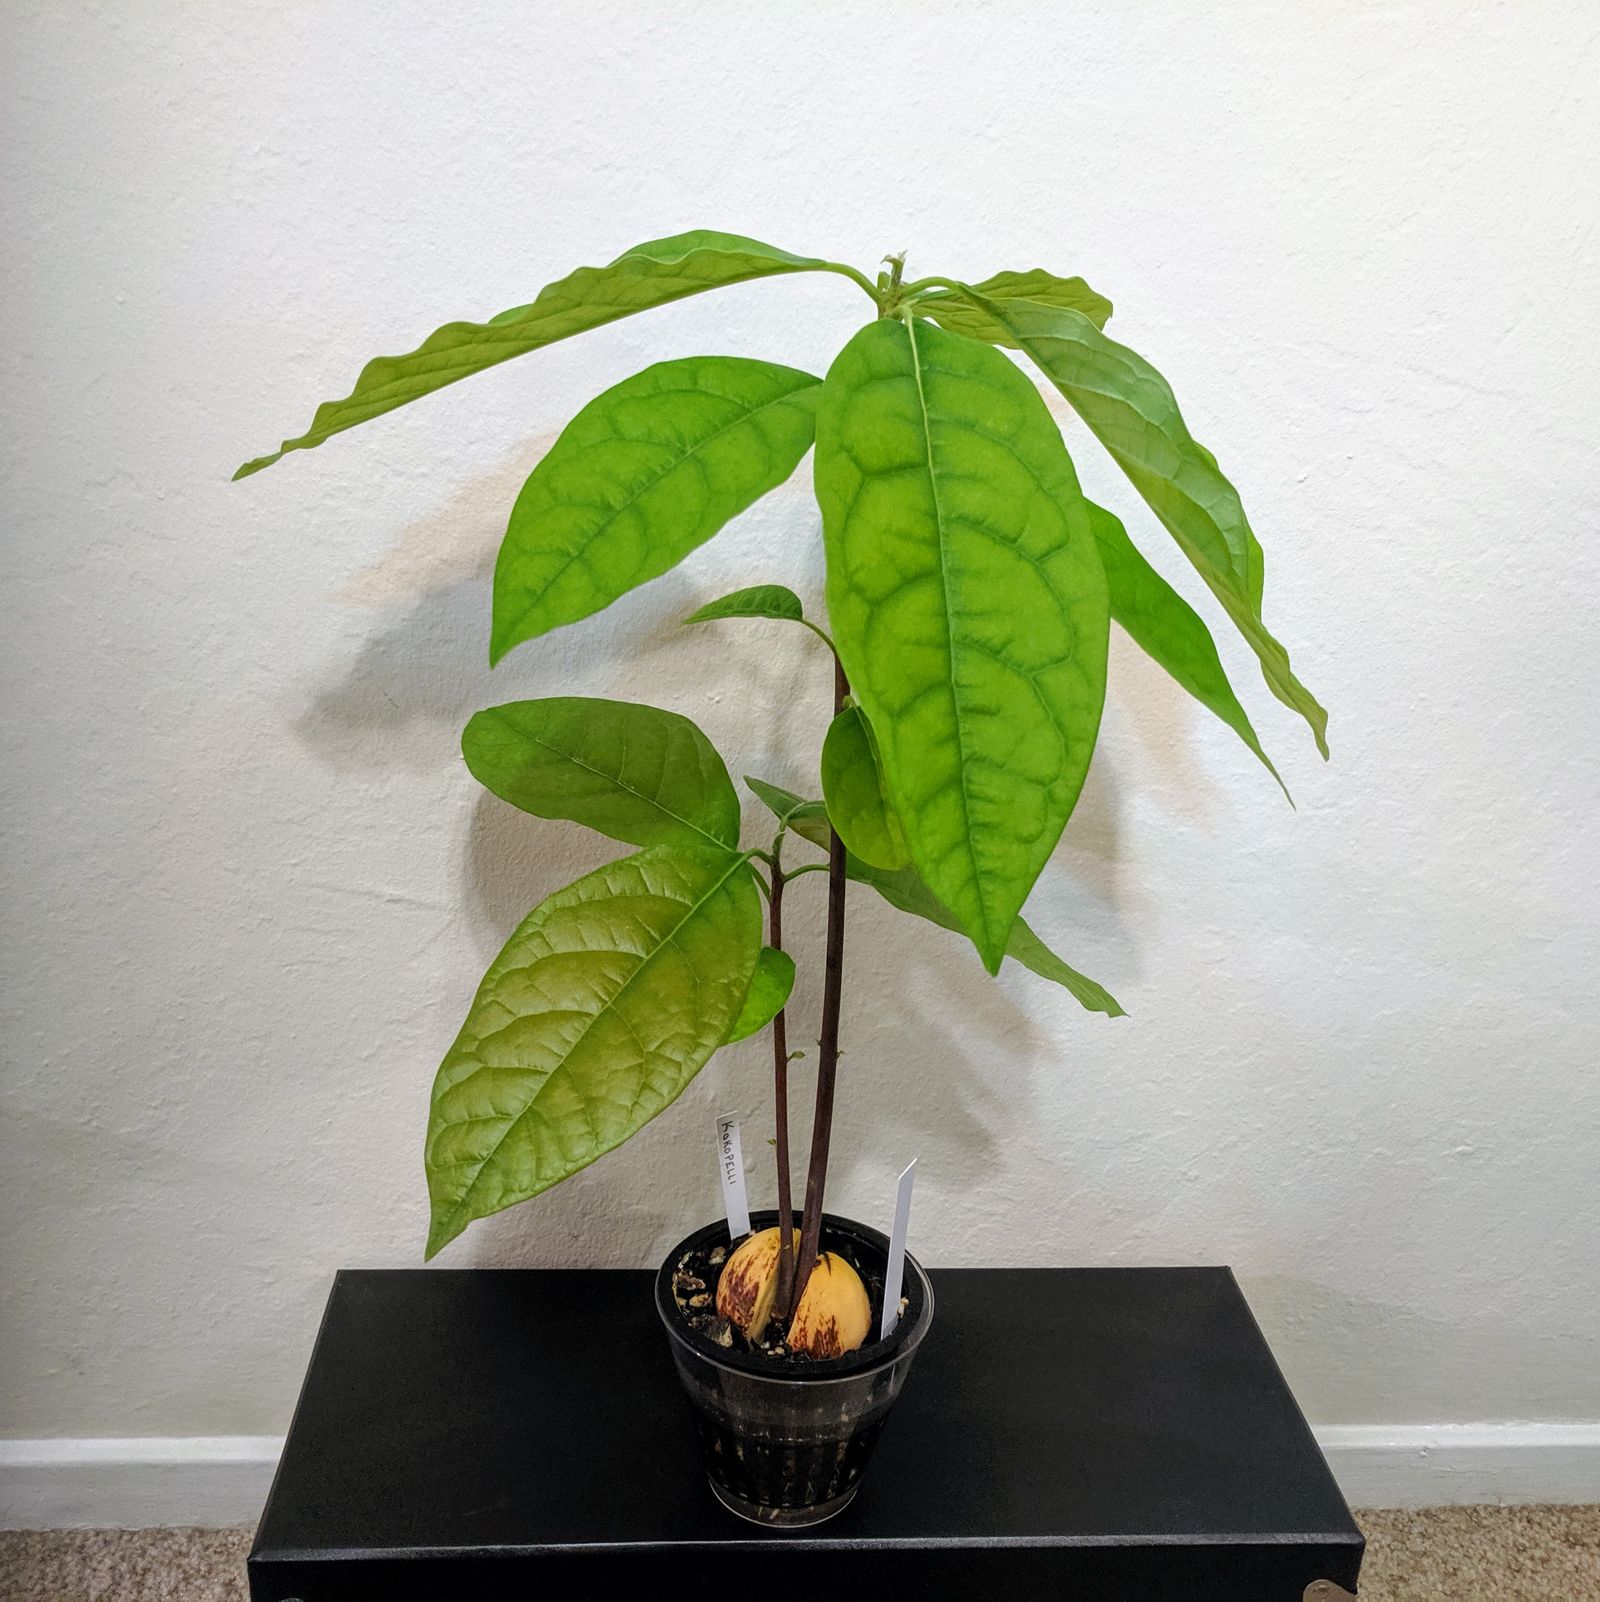
The seed will appear as pale yellow with some brown spots.
Avocado seeds are at risk of fungal and bacterial infections, so the seed should be sanitized.
- Wash the avocado seed with soap and water and scrub it with an abrasive sponge
- Wipe, spray, or dip the seed in alcohol and leave wet for 10 minutes
- Rinse off the alcohol with soap and water
Your seed is ready! The seed will now have spots and lines of orangered; This is a normal reaction (and a useful dye! People are trying to get a process going to turn avocado seeds into dye on a mass scale so all of the disposed seeds can be made useful!).
Increase Your Odds: Prepare Many Avocado Seeds
A third of avocado seeds are duds and will never sprout, or even rot. Another third are very slow growers. Prepare a lot of seeds so you can pick the best ones.
- Fill a large container with water
- Submerge avocado seeds in the water after you sanitize them
- Replace the water once a week (the water will take on an orangered tint)
- Throw away any seeds that turn a color other than pale yellow and orangered (such as tinted green or grey)
This is a compact way to start the germination process for many seeds to prevent avocado seed duds from wasting your time.
The first stage of a germinating avocado seed is splitting in half. An avocado seed that has split in half is a prime candidate to grow into a sapling.
Germinate an Avocado Seed
Avocado Seeds have such a variation in speeds at each phase of germination (splitting, tap root, and sprout) that it is too difficult for a lay person to identify the quickest method. The time range for each phase can range from 1 week to 6 months or more (I give up at 6 months). The only reliable way to get an avocado sapling as quickly as possible is to start the germination process for every avocado seed you can get your hands on.
An avocado seed only needs its bottom half to be wet, and top half relatively dry in order to germinate. There are an unlimited ways of doing that; I have tried many different versions and have identified two of the best methods. To pick the best approach to germinate an avocado seed, first answer this question: Why are you doing this?
Watching an Avocado Seed Grow will be Fascinating
If you want to see the tap root grow and branch and the sprout emerge from the seed, then you will enjoy the method where you suspend an avocado seed in water.
- Use a tall clear container (if it's too short the roots could spiral and make planting awkward)
- Identify the top and bottom of the avocado seed. The top is pointed, while the bottom is more flat with a small "knot" in the center (or an undulated edge in a split seed)
- Stick 3 toothpicks equidistant around the equator of the avocado seed (plastic to prevent rot)
- Place on mouth of container with the top of the avocado seed facing up
- Fill the container with water until it reaches halfway up the seed
Replace the water every week. Keep it out of the sun until leaves appear.
Important: Keep an eye on the water level so that all parts of the roots are always under water.
When to pot the avocado seed: You can stop this method and pot the seed at any moment, there is no such thing as potting too soon. When watching it grow is no longer interesting, then transfer it into a pot. To minimize problems, pot the seed before the roots start to turn within the container or become thick and difficult to bend. However, avocado saplings are so incredibly hardy that they can bounce back from any root or stem damage.
Simply just want an Avocado Tree
If watching the germination process isn't important, then you can skip to something easier: the wet paper towel around an avocado seed method. This method is particularly useful if you're germinating a lot of avocado seeds because it minimizes the use of supplies and maximizes the use of space.
- Take a half sheet of paper towel and fold it in half length wise, and repeat until the height of the cloth is roughly ½-¾ the length of the avocado seed
- Wet the paper towel and squeeze so it is not dripping, but still wet
- Identify the top and bottom of the avocado seed. The top is pointed, while the bottom is more flat with a small "knot" in the center (or an undulated edge in a split seed)
- Wrap the paper towel around the bottom half of the avocado seed
- Place in a ziplock bag (multiple seeds can share one bag)
- Store somewhere dark and warm
The avocado seeds will not need any care during this phase. Check on the seeds about once a month to see their current status.
When to pot the avocado seed: You can stop this method and pot the seed at any moment, there is no such thing as potting too soon. The biggest concern is to not let the roots or sprout get too large and start to be deformed in the confined space. Planting when the tap root has extended out of the avocado seed is a good time.
Pot an Avocado Sapling
There is no such thing as potting an avocado seed or sapling too soon. You can pot the seed as soon as you cut it out of the avocado, or wait until it has a full root system and sprout.
Note: Avocado sprouts have a tendency to die back the first time they are potted or repotted. Their leaves may shrivel, or brown, or may all completely fall off. In a worse case scenario, the stem could turn brown and completely die off. Don't panic! As long as the seed isn't turning brown or green or shriveling up, your avocado sprout will come back. Avocado saplings are so hardy they can bounce back from anything as long as they still have a healthy seed attached to them. I have not identified which sprouts are vulnerable to die back and which will continue growing without a hitch. Some avocado sprouts simply seem to be more hardy or delicate.
Type of Pot for an Avocado Sapling
I recommend potting any sapling in a pot that will provide "air pruning". These will be pots that are not solid on the sides or bottom so that when a root reaches the edge of the pot it will stop growing instead of turning and growing circularly around the pot. This encourages the sapling to grow more individual, branching roots, and finer roots. The benefits are:
- Larger plant and smaller root ball because the roots are more efficient. Great for house plants.
- Prevent girdling roots which can stunt or kill a tree. A solid pot will cause all the roots that reach the bottom to become root bound and will have to be cut off, requiring the plant to grow that root mass once again.
- Increases chance of successfully establishing when planted in the ground. The roots will be ready to optimize every square inch of ground they are placed within to absorb the water and nutrients the tree will need to survive.
A normal solid pot is perfectly fine. Trees were grown in solid pots for ages.
Pot Size for an Avocado Sapling
When an avocado seed is first germinating and producing its first sprout, it doesn't require much space. To maximize use of space, use a 3" pot to start with (mesh pot lined with a coffee filter when air pruning). Trim any roots if they grow out of the pot.
Being a tree, there isn't a pot that is too big for an avocado sapling, so choose your pot based upon your space, time, and financial limitations. Use smaller pots and incrementally repot the saplings into larger pots to save the most space. Use larger pots to minimize the expense of purchasing pots and the time required to repot a sapling when it has outgrown the pot.
My balance of space, time, and money is using three pot sizes as the avocado sapling grows towards its final destination: 3", one gallon, and 5 gallon.
Most of my avocado saplings are being used as houseplants. I pick the best pot for the space the plant will live in, and plant it in that pot once the root ball is ready for it. I give people saplings destined to be planted in the ground in one gallon fabric pots.
Potting mix for Avocado Saplings
Any potting mix is fine for an avocado sapling, so don't worry about it. However, a potting mix that more closely resembles Al's Gritty Mix is best. An important goal of this type of mix is to have less than 10% fine particles.
Each potting media has different benefits and consequences. Organic media can retain more water (maybe too much) and provide trace nutrients, but also needs to be replaced regularly because it will break down and kill roots. Inorganic media retains less water (maybe too little) and never needs to be replaced, but requires supplements of trace nutrients. Fine potting media can easily transfer moisture throughout the pot, but can suffocate roots if over watered. Course and chunky potting media prevents suffocating roots, but dries out quickly and need frequent watering. Each type of plant has different preferences growing better in different ranges of moisture and air pockets. Different potting mixes do better or worse in different environments and personal care routines. It can get complicated, so you'll likely want to begin with prepackaged potting mixes or follow potting mix recipes.
Avocado saplings are super hardy and adaptable, so just start with a potting mix that seems best for you in terms of access and maintenance then change and tweak your mix once you learn more.
Expose or bury the avocado seed? I haven't noticed a difference. I prefer to leave the seed partially exposed so I can easily see if it is healthy. If you don't want to see the seed, bury it.
Do not remove the seed from the sapling! The seed is the avocado sapling's safety net and key to its hardiness.
Avocado Sapling Potting Mix that I Use
This is the recipe for the potting mix I use for my avocado saplings. Keep in mind this is optimized for the materials most accessible to me and my care routine.
- Bark fines (⅛" or smaller), 2 parts
- Sphagnum moss (broken into 1" pieces), 1 part
- Hydroton (LECA), 1 part
- Charcoal (horticultural), 1 part
The bottom most layer of the pot is 1" of full strands of sphagnum moss (that don't count towards the potting mix recipe), and the rest of the pot is filled with my avocado sapling potting mix recipe. The pot is placed in a pot saucer l, and I water by filling the saucer. The bottom layer of sphagnum moss absorbs the water and the 1" pieces of sphagnum moss in the mix will take up the water from the bottom layer and spread it throughout the mix. My care routine is to just keep filling the saucer whenever I see it empty.
In most cases I use self watering planters filled with potting mix the same as I outlined above. Routine care involves just keeping the reservoirs full. I use self watering planters with clear reservoirs for most plants so their care (watering) needs can clearly get my attention.
I also have some saplings that are in only LECA, an inorganic media, because I don't intend to ever repot them. They are watered sort of like semi-hydro: I fill their container with water and then refill it when there is about 1" of water left on the bottom.
When to Repot your Avocado Sapling
There are two triggers that indicate a time to repot an avocado sapling: Root ball size and aging organic media.
Organic media will decay over time and change the PH of the media to be more acidic. If the media is too acidic, then roots cannot absorb nutrients any longer causing the avocado sapling to become stunted or start to die. The decaying process will start to break down the media, reducing it to fine particles that will suffocate and kill roots. Regular quality potting media will need to be replaced between 12 and 18 months, while high quality media can last for 3 years. Remove as much media as possible from the roots when repotting because the remaining pieces will become acidic.
Inorganic media rarely, if ever, needs to be replaced. There is no need to remove inorganic media from the roots.
A sapling is ready for a larger pot when the roots have reached throughout the pot it is currently in. The roots will first grow down and expand from the bottom up, trapping the potting mix within its network of roots. There are two indications that the roots have maximized use of the pot:
- When the root ball is removed from the pot, the potting mix is firmly attached to the base of the sapling as well as the bottom of the root ball (potting mix will easily fall off when there are no roots to hold it together)
- When air pruning, roots start to peak out from the upper portion of the pot (fabric pots in low humidity won't have roots extending beyond the pot)
Avocado saplings are not required to be in larger pots once its root ball has expanded throughout the pot. If you want your sapling to stay small then put it back into the same pot.
Caring for your Avocado Sapling
Avocado trees are thirsty! They like to have plenty of water. I have never over watered an avocado sapling, likely due to the gritty potting mix I use which is very porous preventing suffocating the roots. Some saplings will be "expressive" and their leaves will droop when thirsty. Other saplings, though, will have roots die on them if they become too dry with the only indication being shriveling leaves. When in doubt: water.
Avocado trees want as much bright light as possible! Saplings not getting enough light will grow tall and lanky. A 2' to 3' sapling with three to four leaves is starving for more light; Plants "reach" and grow long when searching for brighter light. An avocado sapling with good lighting will be about 12" to 18" when it has four to 7 leaves. However, fresh avocado sprouts are delicate and can get sunburned or dehydrate too quickly in the bright hot sun. Don't put avocado sprouts in direct sun until they have thicker mature leaves (feel your avocado sapling's leaves, they're great!).
My avocado saplings love my southeast windows; it is too bright for the new sprouts, though, so I keep them 1' to 2' away from the window. They also do great under artificial lighting.
General fertilizer works well for avocado trees. You don't need to be overly concerned about fertilizer while the seed is still attached to the sapling because it will continue to provide nutrients. But at a certain point, your avocado sapling is going to need fertilizer or else the leaves will be at risk of infection. Start fertilizing as soon as you're ready.
There are two approaches to fertilizing: constant, or increments. It is most common to fertilize plants in specific increments, like once every two weeks or once a month, so you can safely follow the instructions that come with your fertilizer.
Constant fertilizing is best used when the potting mix is wet most of the time (like when using self watering planters). In this case, always mix fertilizer in the water prior to watering your plants. The dose of fertilizer is half the weekly dose. Since each fertilizer's doses and increments are different, this requires a little math.
When your fertilizer's instructions are given in increments of:
- Once a month, divide the dose by 8
- Once every two weeks, divide the dose by 4
- Once a week, divide the dose by 2
I personally use the always wet method for avocado saplings -- therefore always fertilizing -- because they are so thirsty.
When in doubt, use a bit less fertilizer.
Flush the pot once every 1-3 months when feeding fertilizer. Unused fertilizer ("fertilizer salts") will build up in the potting mix and can cause root burn. Flushing the pot is no problem when using a gritty potting mix. However, if your mix has a significant amount of fine particles, then the roots could suffocate. In that case, remove the root ball from the pot and put it on a towel over night so the water can be wicked away.
What to Expect from your Avocado Sapling
Avocado trees grow based on the length of light it receives every day. The longer days of spring, summer, and fall will have the most vegitation growth, while the shorter days of winter will have the least vegitation growth. The roots are always growing, though. Using artificial lighting might encourage year round vegitation growth.
Avocado sprouts can have between one and four stems. A "stem" in this case is a sprout that comes directly from the seed, as opposed to a branch from the primary atem. Most common is one stem, uncommonly two stems, rarely three stems, and exceedingly rarely four stems. Two stems have a high chance of keeping them both, while saplings with three or four stems tend to lose one or all but one. Every four stemmed sapling I have had has lost their 3 extra stems.
Energy and nutrients for growth is distributed between the two stems. If you want a fruiting avocado tree as fast as feasibly possible, identify the most vigorous stem and cut off the others. If speed is not a factor, leave the stems be and enjoy its unique beauty.
Avocado leaves look different as they mature. They can start as light grass-green, or with a light brown "tan" over green (I suspect the "tan" protects from sunburn). They can start matte or super glossy. They can be tissue paper thin, or feel normal. Ultimately, leaves will grow to develop a matte surface in grass-green, and feel stronger than paper. Sometimes they are an opaque dark green, but usually are lighter and semi-translucent with their veins having varying degrees of prominence. Their size can range from 4"x2" up to 12"x4" or larger. Their leaves grow in sets of three, with an occasional single leaf. A new set of leaves can grow differently from the previous set. An avocado sapling can look super funny with three or four 4" leaves with two enormous 12" leaves at the top looking like a floppy eared bunny.
Leaves on an avocado tree last for about one year. The older leaves will dehydrate and fall off. Depending upon the seasons of its first year since sprouting, this means their leaves might start to turn brown on the edges before new leaves grow.
When younger leaves start to turn brown or dehydrate there is something wrong with the roots. Some possible reasons:
- Shock from repotting has caused root die back. Just wait for the avocado sapling to readjust.
- Not enough water causes the roots to dehydrate and die. Improve your watering routine.
- Roots are suffocating from sopping wet fine particles. Adjust your watering routine or change the potting mix. If the potting mix is old, then repot with fresh media.
- Roots have fertilizer burn. Flush the pot more often or use less fertilizer.
In all these cases, the roots have become damaged. New roots will have to grow and new leaves sprouted. Wait for the avocado sapling to recover. If its seed is healthy, it will recover.
Another possible cause is a nutritional imbalance, but that would likely be rare when the avocado seed is still healthy and attached to the sapling. If you aren't fertilizing, start. If you are fertilizing, supplement with calcium and magnesium.
Tips and Tricks when Growing an Avocado Tree
You don't need to chop off the top of a new sprout. Completely unnecessary. Air pruning pots will optimize root growth, and cutting the top won't encourage multiple branches. If the avocado sprout is too tall, give it more light.
It is possible to force an avocado sprout to create a new branch. At the very tip of the stem or branch is a lighter-green pointed cone. Bend the stem so the cone points directly downwards. Use bonsai wire. It will initially fight against you, continuing to grow beyond the wire and turn upwards, so keep an eye on it and readjust the bonsai wire as needed. Eventually, the plant will be convinced to stop directing new growth towards that growth cone and will send the energy elsewhere. It can take a long time to convince the plant to grow a new branch, especially worse if it extends over winter.
This light-green cone is where new growth comes from. The cone eventually forms three leaves and separate, growing a new set of leaves and another growth cone. The avocado sapling sends growth hormones to the highest viable growth cone. If the cone cannot grow upwards, then it will no longer be considered viable, and the growth hormones will be redirected to a differ growth cone.
Potential branches can be identified
by a small green cone appearing on a node of the stem. A node is a thickness or bump in the stem, and has (or had) a leaf attached to it on avocado saplings. The budding growth cone will emerge from the nook between the leaf and node. You'll have better luck encouraging the growth of new branches when potential growth nodes already exist.
Summary about Growing Avocado Seeds into Trees
Avocado seeds have such varying degrees of viability, growth speeds, and delicacy, you will probably want to sprout several seeds simultaneously.
Avocado sprouts and saplings are incredibly hardy and can bounce back from what could appear as death. As long as the seed is still attached and looks healthy, the avocado sprout will make a come back. Don't fret about leaves falling off or turning brown and crispy on the edges. The avocado sapling will adjust and bounce back better than ever.
Using an "air pruning" approach to potting avocado saplings is the best potting method. A Gritty Mix for the potting mixture is best for root health, but avocado saplings are incredibly adaptable so amy mix will more than likely be fine.
Enjoy your new lovely avocado saplings and form a bond with them knowing you nurtured them from seed. Just beware the risk of growing too many simultaneously where they take over your home and yard!
I encourage you to leave a comment with any questions you may have or suggestions to improve this article.
This guide will continue to be updated with my current recommendations or expanded information.